Metal manufacturers use pad printing to put readable, durable information directly on parts that are curved, coated, recessed or too irregular for a label. By the end, you will be able to match a marking task to the right component, surface preparation, tooling, ink, curing method and production test.
Key takeaways
- Use pad printing for durable marks on flat, turned and mildly curved metal parts.
- Match ink adhesion and curing to the metal alloy, coating and service environment.
- Control fixturing, pad pressure and surface preparation before increasing print speed.
- Compare complete cell cycle time, testing and maintenance—not headline print rate alone.
Which metal components and markings suit pneumatic pad printing?
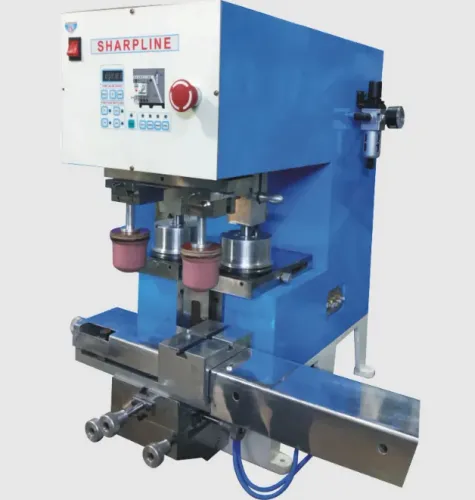
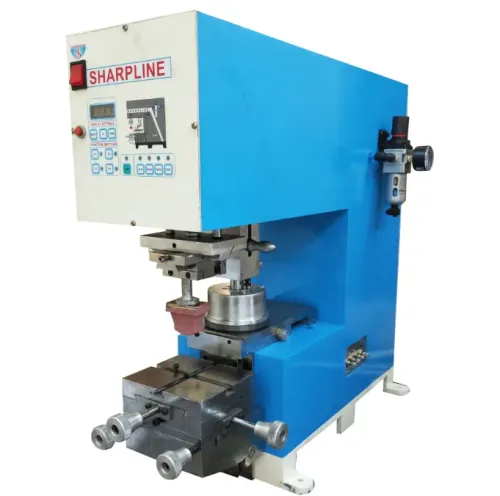
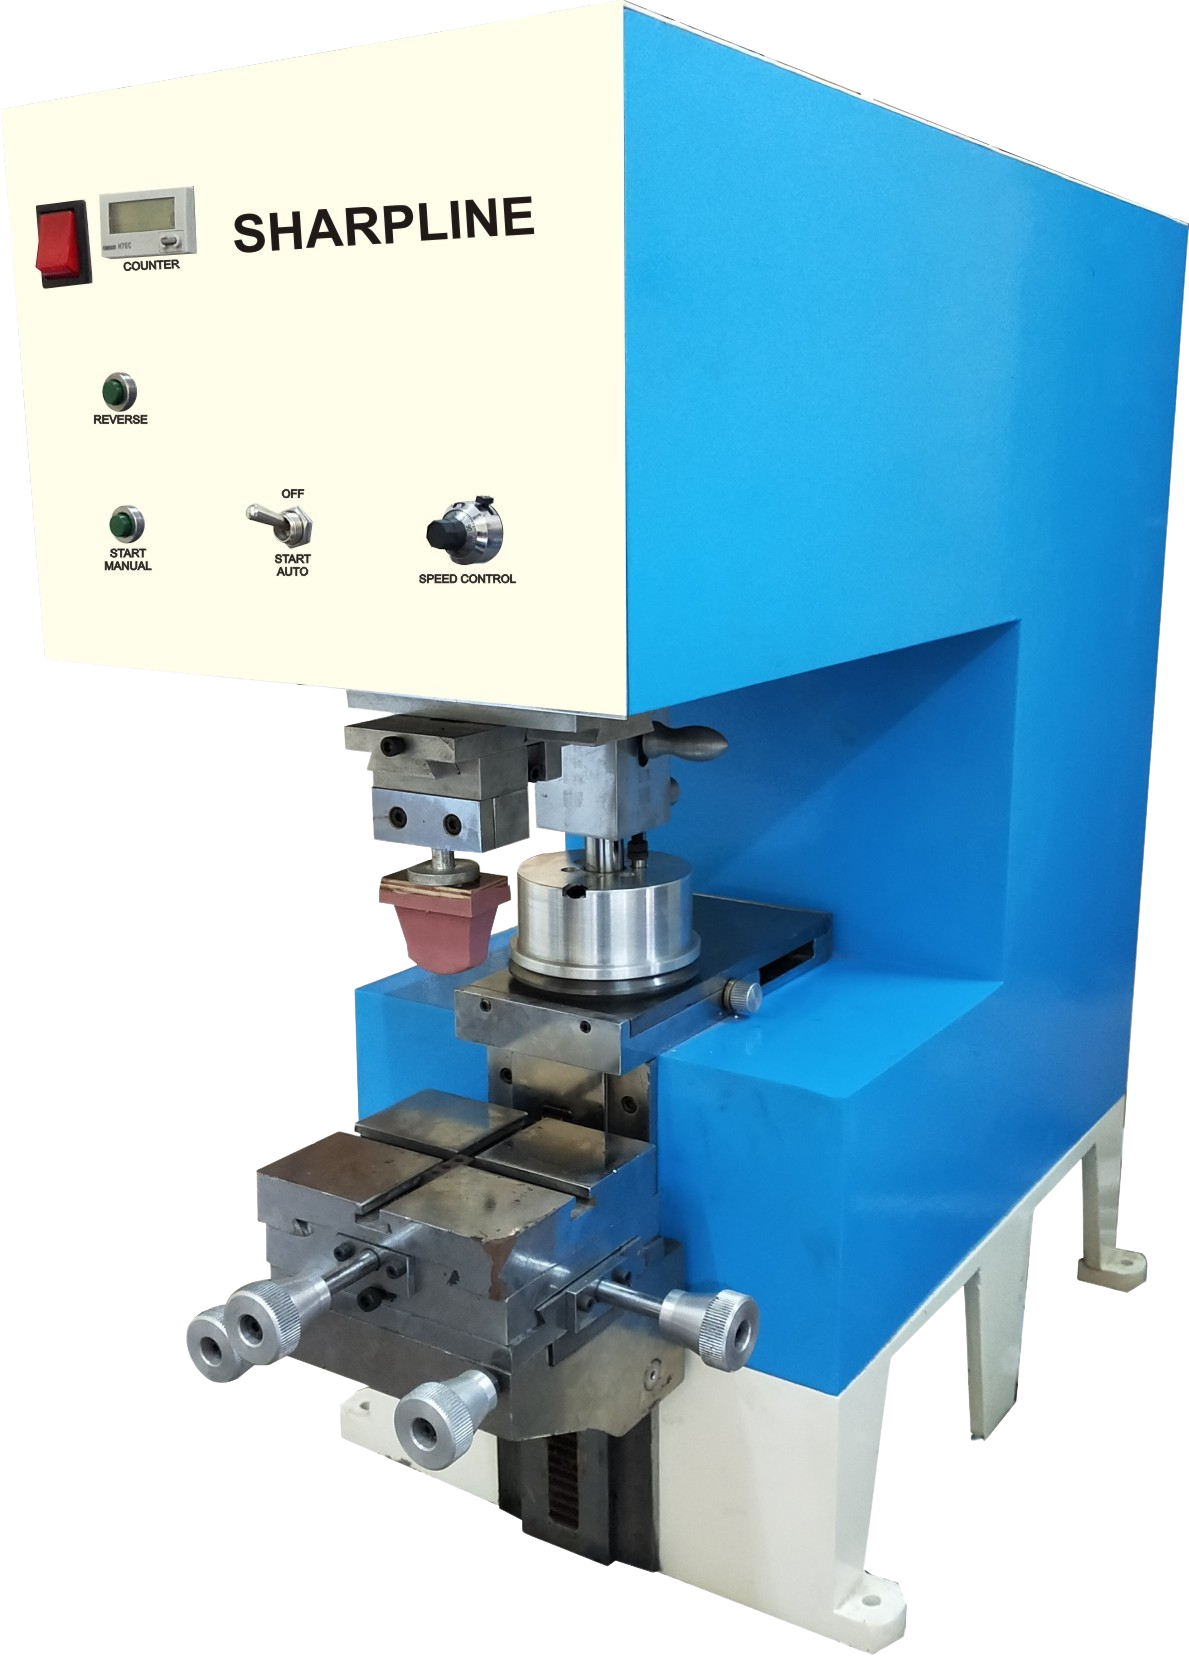
Pneumatic pad printing machine uses in metal manufacturing centre on marks that must sit directly on the component. Silicone-pad transfer follows flat plates, turned shafts and mildly curved housings, making pneumatic pad printing machines for metal components suitable for knobs, handles, bezels, housings, control panels, fasteners, tools, automotive parts, electrical hardware and medical instruments.
| Marking | Typical location | Practical purpose |
|---|---|---|
| Logos and brand marks | Knobs, handles, bezels, housings | Product identification |
| Scales, graduations and arrows | Instruments and control panels | Readings and operating direction |
| Switch legends and warning symbols | Controls and housings | Position and hazard information |
| Serial, assembly and traceability graphics | Parts and subassemblies | Identification and production records |
| Orientation and inspection marks | Shafts, tools and fitted parts | Alignment and quality checks |
A component’s physical size is not its printable size. A large housing may offer only a small accessible zone because gripping jaws, seals, threads, press fits or later assembly operations block other surfaces.
Check the actual artwork envelope, aspect ratio, curvature and edge clearance against the machine’s 75 mm circular maximum; do not treat that rating as 75 mm of usable print on every part.
A single-colour configuration suits one-colour legends and logos. Two-colour marks, sequential registration, or colour-plus-clear protection require another process plan or a machine configuration designed for those operations.
How do metal surface, geometry and fixturing affect print quality?
A clean-looking component can still reject ink: fingerprints, cutting fluids, drawing lubricants, corrosion inhibitors and polishing residue alter wetting and cause pinholes or adhesion loss. Degrease every part carrying those residues, then validate the actual production cleaning sequence; ink must wet the surface system, not merely the base metal.
| Surface system | Preparation and risk |
|---|---|
| Bare aluminium | Degrease; abrade or prime when the ink requires a keyed surface. |
| Stainless steel | Remove oil and polishing residue; use a compatible primer for demanding adhesion. |
| Mild steel | Degrease corrosion inhibitor and cutting fluid; protect against flash rust and prime where specified. |
| Zinc die-casting | Remove mould release and oil; test ink compatibility before production. |
| Chrome plating | Clean without damaging the plating; select ink for chrome, not the steel beneath. |
| Anodised aluminium | Clean gently and match ink to the anodised layer; bare-aluminium ink can fail. |
| Powder coating | Abrade or prime only if approved for that coating; test its surface energy. |
| Wet paint | Cure fully, clean, and match ink to the paint; uncured paint can move under the mark. |
| Oily machined surface | Degrease completely; printing over oil gives false initial acceptance. |
A silicone pad cannot enter every shape. Deep recesses, sharp inside corners, narrow ledges, heavy texture and abrupt steps cause incomplete transfer, distortion or ink pickup. Select pad shape and hardness with artwork size and curvature; tune stroke, compression, force and dwell rather than relying on air pressure alone.
Keep the cliché clean and its cells open: a blocked cell reduces ink volume and creates weak areas. Use a repeatable fixture with datums, clamps, changeover references, part-presence control, and chip or coolant protection. Validate registration against fixed datums, image dimensions and allowable positional error—not the machine’s precision claim alone.
How should you choose ink, curing and tests for metal parts?
Prove durability on production-grade parts, not on a clean demonstration coupon. Use the actual metal finish, artwork, fixture, cleaning process and final curing sequence for pneumatic pad printing machines for metal components.
Ink choice determines both resistance and process control.
| Option | Process demand | Best fit |
|---|---|---|
| Single-component ink | Ready to use; simpler handling; potentially lower chemical and abrasion resistance | Routine marks on compatible finishes |
| Two-component solvent-based ink | Controlled hardener mixing, batch records and pot-life records after mixing | Marks exposed to oils, fuels, cleaners or abrasion on demanding metal finishes |
Match ink and primer to bare metal, paint, plating or anodising. An ink that adheres to anodised aluminium can fail on oily steel or powder coating. Define the cure route as solvent evaporation, chemical cross-linking or UV curing, then record time, temperature, ventilation and line position. A dry-to-touch mark can fail before full cure.
Your qualification file should include:
- A documented cross-cut adhesion test to ISO 2409 or ASTM D3359.
- Solvent rubs, abrasion and scratch testing.
- Exposure to the actual oil, coolant, detergent, heat cycle or UV environment.
- Acceptance limits for legibility, edge definition, colour, adhesion, dimensions and location against named datums.
Record cliché depth, pad hardness, ink viscosity, solvent addition, stroke, print force, dwell and cure conditions. Those records make approved pneumatic pad printing machine uses repeatable instead of dependent on operator judgement.
What does a pneumatic printing cell require beyond the headline print rate?
A rating of 25–2,700 prints per hour is not guaranteed output. Calculate effective hourly production from loading, clamping, printing, unloading, curing, inspection, rejects, ink replenishment, pad cleaning and changeovers. Artwork size, fixture access, multiple operations and manual handling often reduce the result.
Use a timed trial on production parts. Record operator controls for:
- Ink viscosity and solvent evaporation, ink-cup doctoring, cliché cleanliness and silicone-pad wear.
- Part orientation, registration against fixed datums, and image position after curing.
- Sealed-cup cleaning, doctor-blade condition and replacement of exposed consumables; use an open well only when large artwork or frequent ink access outweighs evaporation control.
| Pneumatic utilities | Motorised alternative |
|---|---|
| Stable regulated air, peak-demand compressor, particulate and water filters, condensate drain, isolation valves, pressure gauge and noise control | No compressed-air system; simpler where air is costly, noisy or difficult to maintain, but verify motor service and control requirements |
Budget for clichés, pads, ink, thinner, cleaning materials, fixture manufacture, air-system maintenance, setup trials, colour changes and training. Guard the stroke, ventilate solvent vapour, store flammable ink correctly, isolate compressed air and apply lockout before cleaning; specify gloves, eye protection and other suitable PPE.
A complete industrial pneumatic printing machine cell may add part-presence sensing, automatic loading, shuttle or rotary fixtures, ink-level monitoring, pad cleaning and inspection. These controls prevent missing parts, dried ink, blocked cells and misplaced images; curing time must be included in the takt calculation, not treated as downstream convenience.
How do you decide whether pad printing is the right investment?
A pneumatic pad printing machine earns its place when you need repeatable, short-to-medium marks on varied metal parts, including curved housings, knobs, shafts and control panels. Compare the process against these alternatives before buying:
| Method | Permanence and colour | Resolution, surfaces and data | Speed, tooling, curing and effort |
|---|---|---|---|
| Pad printing | Ink mark; one or several colours by process plan | Sharp on mild curves; limited by pad and artwork envelope; poor for frequent data changes | Fast after setup; needs cliché, pad, ink, fixture and curing |
| Laser marking | Permanent, usually monochrome | High-resolution fixed or variable data; limited on reflective, deep or shadowed geometry | No ink cure; higher equipment cost, low consumable effort |
| Screen printing | Durable ink; strong solid colour coverage | Best on flat or gently curved, larger graphics; variable data is slower | Needs screen, squeegee, ink and curing; substantial cleaning |
| Inkjet | Ink-dependent permanence; multiple colours possible | Excellent for serials, dates and changing codes; less effective on oily or porous surfaces | Minimal tooling; needs ink management, curing and nozzle maintenance |
| Labels | Colour-rich and variable | Flexible placement, but edges, adhesive and curvature can fail | Quick changeover; adds stock, application and replacement effort |
| Engraving | Permanent and ink-independent | Suits deep, tactile marks; limited colour and fine graphics | Slower machining; requires tooling, fixturing and chip control |
Reject pad printing when the artwork exceeds the usable pad or part envelope, enters a deep or sharply stepped recess, meets a porous or contaminated surface, faces a high-temperature post-print process, changes data frequently, or must remain permanent without ink.
Choose laser marking or engraving for ink-independent permanence, screen printing for large solid graphics, inkjet for changing codes, and labels for flexible full-colour identification.
Before purchase, require an actual-part trial using production finish, artwork, fixture and cleaning sequence. Ask for loaded cycle time, utility specification, guarding, spare-parts list, fixture limits, durability samples, and written registration and adhesion limits. Verify artwork envelope, edge access, pad compression, distortion and repeatability.
SHARPLINE ENGINEERS belongs in the comparison only after its proposed industrial pneumatic printing machine meets those documented limits.
Related product
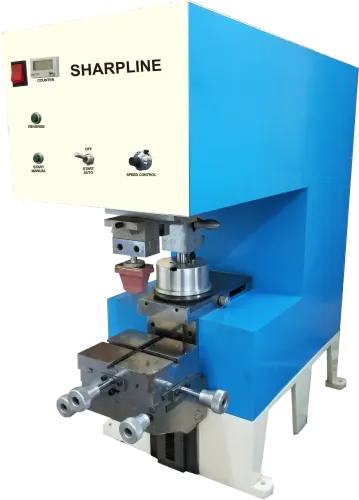
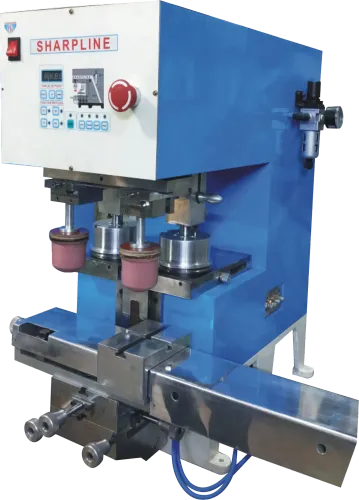
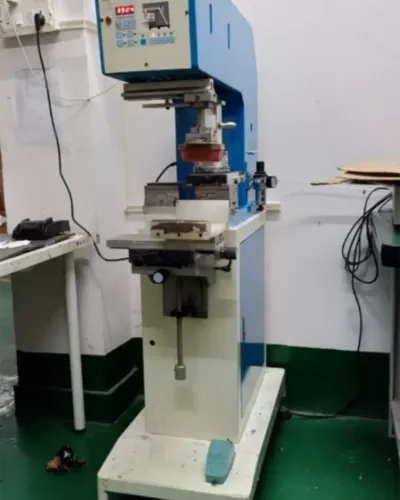
 | PNEUMATIC PAD PRINTING MACHINE PNEUMATIC PAD PRINTING MACHINE Single color, Non-Magnetic Tungsten carbide steel ring & compact sealed Ink cup Pad Printing machine Max. View product → |
Frequently asked questions
Which metal components suit pneumatic pad printing?
Knobs, handles, bezels, housings, control panels, fasteners, tools, automotive parts, electrical hardware and medical instruments suit pad printing when the required mark fits the component geometry.
How do surface, geometry and fixturing affect print quality?
Clean the surface, select ink for the alloy or coating, use a silicone pad that follows the shape, and fixture each part so its print area meets the pad consistently.
How should you choose ink, curing and tests for metal parts?
Test ink adhesion, abrasion resistance and chemical resistance on the finished metal surface, then specify the curing process required by that ink and production environment.
What does a pneumatic printing cell require beyond print rate?
Allow for loading, unloading, part orientation, ink replenishment, curing, inspection, changeovers, tooling, guarding, air supply and maintenance when calculating actual output.
When is pad printing the right investment for metal components?
Choose it when you need direct, repeatable marks on shaped parts and the required durability fits tested pad-printing ink; compare alternatives when the mark is large, highly variable or exposed to severe wear.
Keywords