Thin images, pinholes, blurred edges and uneven opacity usually begin with unstable inking rather than a simple pressure setting. By tracing ink depth, solvent balance, cliché condition, doctoring, pad contact and fixture position in sequence, you can restore a repeatable print and identify when the system itself is the wrong fit.
Key takeaways
- Check doctor-blade wiping before changing ink or pad pressure.
- Control ink viscosity at each shift change and record adjustments.
- Align the cliché, silicone pad, fixture and part datum together.
- Choose an open well when quick ink access outweighs solvent exposure.
How an exposed ink reservoir controls the printed image
The working logic of open ink well systems for single color print quality is simple: flood the etched cliché, wipe surplus ink from its surface with the doctor blade, then let the silicone pad pick up and transfer the ink remaining in the recessed image.
Quality fails when that remaining film changes from cycle to cycle.
- Ink depth: too little ink interrupts flooding and creates partial images; too much increases the exposed volume.
- Reservoir surface area: a large, shallow pool evaporates faster and collects more dust than a smaller pool that still floods the cliché.
- Solvent evaporation: rising viscosity leaves fine lines unfilled and makes pickup progressively weaker during the run.
- Cliché etch depth: deeper etching holds more ink but can soften fine detail, promote smearing and increase solvent sensitivity.
- Blade pressure: insufficient pressure leaves surplus ink on the non-image area; excessive pressure can starve the image or damage the blade edge.
- Pad geometry: use the smallest silicone pad that covers the image without broad collapse.
- Transfer pressure: enough compression completes pickup and release; excess compression enlarges contact, traps air and feathers edges.
A deeper etch cannot rescue an ink film that has thickened or dried in the cliché. More pad pressure cannot restore a film that the pad cannot pick up cleanly; it only spreads the defect and distorts the graphic.
Open ink well systems protect detail when you control the ink film first, then use rolling pad contact and the lowest practical compression.
A fault-isolation sequence for thin, dirty or inconsistent prints
Use this fixed order to recover pad printing quality. Diagnose the inking surface before changing machine settings; otherwise, a pressure adjustment can hide the real fault.
1. Inspect the cliché for dried ink, blocked fine detail, scratches, burrs or other damage. Confirm that the doctor blade wipes the non-image area clean at the lowest pressure that removes surplus ink; excessive pressure creates streaks, wear and an uneven ink film.
2. Check ink viscosity and temperature against the ink supplier’s specified working range. Thick ink causes weak pickup, incomplete lines and poor transfer; thin ink causes low opacity, spreading and pinholes.
3. Examine the pad for dirt, dried ink, swelling, cuts or surface damage. Confirm that pickup and transfer use enough compression to make contact without broad pad collapse.
4. Check the part for movement during pickup and transfer. Confirm fixture clearance, stable seating and machine timing; a shifting part or obstructed pad produces registration errors and incomplete images.
5. If quality deteriorates progressively during the run, check evaporation and drying in the cliché first. Fine lines, small type and halftones lose pickup as the ink leaves its working window.
6. If random specks or streaks appear, look for contamination or dried fragments in the reservoir, blade, cliché or pad. Remove the source before adjusting pressure.
7. Change one variable at a time, recording each result. Adjust speed or pressure only after the cliché, ink, pad, transfer and fixturing checks pass.
Open ink printing maintenance: viscosity, cleaning and shift control
Measure ink viscosity at the ink supplier’s specified temperature and interval, using the supplier’s specified cup or instrument method. Do not judge flow by eye. Excessive viscosity causes weak pickup, incomplete fine lines and poor transfer; over-thinning causes low opacity, spreading and poor adhesion.
1. Check viscosity at shift start, after the supplier’s stated interval, and after any significant solvent addition. Add only the specified solvent in measured increments, then mix thoroughly and recheck. Never correct a thick batch with one large solvent addition.
2. Inspect the cliché, reservoir, doctor blade and blade holder before dried ink breaks loose. Remove fragments promptly; they can block fine detail or create random specks and streaks. Clean each surface before the residue cures.
3. Use a silicone-compatible pad solvent on the pad. Aggressive solvent or prolonged soaking can swell the silicone, change its hardness and produce uneven pickup. Clean the reservoir and blade without allowing cleaning fluid into the working ink.
4. Keep enough ink to flood the image consistently, but limit the exposed volume and surface area. Cover the reservoir during pauses to slow evaporation and dust entry. Keep used ink out of the working supply if it contains substrate dust, cleaning fluid or cured particles.
Good open ink printing maintenance depends on shift control, not a single correction after defects appear. Record cleaning intervals, viscosity readings, measurement temperature and method, solvent additions, ink lot, and blade condition.
Set the cliché, pad, fixture and part for repeatable registration
Use the fixture and workpiece datums to locate the print area, not the pad or operator’s visual judgement. After ink condition is stable, set cliché orientation and pickup height, then confirm that the part cannot rock, slide, or contact the pad unpredictably.
1. Record the cliché identification and etch depth, pad specification and age, substrate batch, ink lot and mix ratio, machine speed, dwell, pressure, and curing interval. This record makes open ink well systems for single color print quality repeatable instead of dependent on trial and error.
2. Select the smallest silicone pad that covers the image without broad collapse. Check for age-related hardening, swelling, dried ink, cuts, incorrect geometry, and excessive deflection. Confirm rolling pickup and transfer; excessive compression enlarges contact, distorts edges, and traps air.
3. Run a registration check against the fixture and part datums. One color removes inter-color registration, not positional error from movement, clearance, pad deflection, pickup height, or changing part presentation.
4. Cure samples using the specified ink interval, then perform the ink supplier’s adhesion or resistance test for the substrate. Test polyethylene and polypropylene after the actual flame, corona, or plasma treatment, storage period, and cleaning process; treatment that passes immediately can lose effectiveness later.
Change one setting at a time. Verify part restraint before altering speed, dwell, or pressure, because compression changes can hide a fixture or geometry fault rather than fix it.
When to choose an open well machine over a closed ink cup
Choose a single color open ink well machine when access matters more than maximum process stability. The operator can add ink quickly, correct viscosity, and clear a short job without opening a sealed cup. That access also exposes solvent to evaporation, dust and viscosity drift.
| Option | Solvent exposure | Ink consumption | Cleaning and attention | Colour changes and unattended runs |
|---|---|---|---|---|
| Open ink well | Higher; the reservoir is exposed | More loss through evaporation and residue | Faster additions, but frequent checks and cleaning | Quick changes; poor choice for long unattended cycles |
| Closed ink cup | Lower; the cup limits exposure | More controlled | More setup for access, less monitoring during a run | Slower changeover, stronger repeatability for extended runs |
Select an open system only after checking:
- Print area and image detail against cliché size, etch depth and pad geometry
- Substrate material and surface energy, including treatment needs for plastics
- Cycle rate, ink formulation, solvent balance and available compressed air
- Fixture design, part stability and expected batch size
Short or frequently changed jobs suit open access. Multiple colours, rapid colour changes requiring controlled repeatability, low operator exposure and extended unattended production favour a closed cup.
For a buyer comparing equipment, ask SHARPLINE ENGINEERS to match the machine configuration, fixture, air requirement, ink process and operator support to your batch size and substrate—not just the advertised colour count. A closed cup is the wrong remedy for poor fixture design; an open well is the wrong choice when nobody can monitor viscosity.
Related product
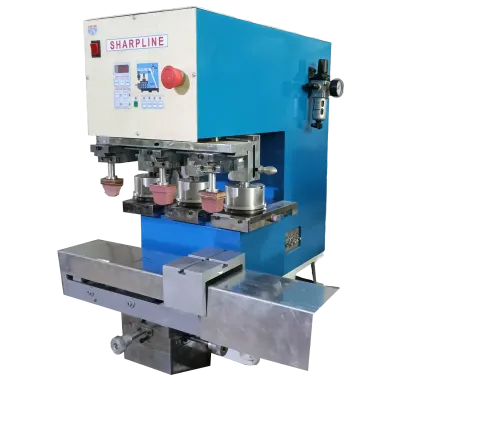
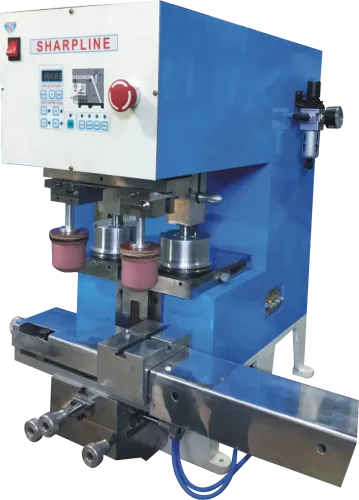
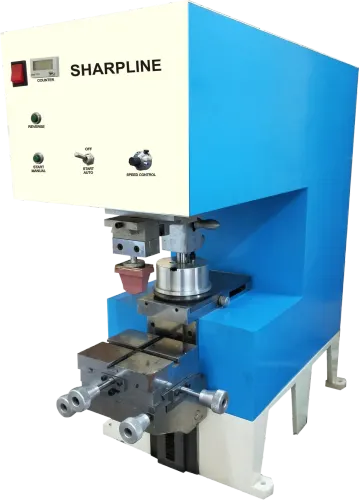
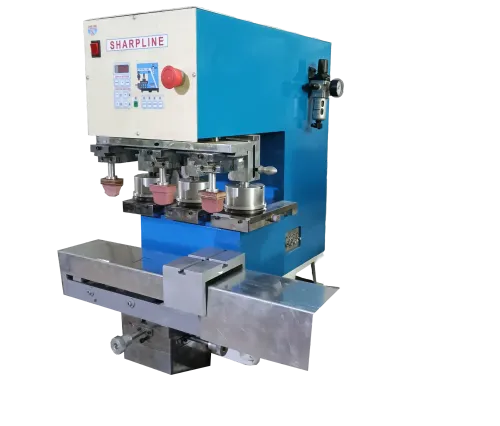
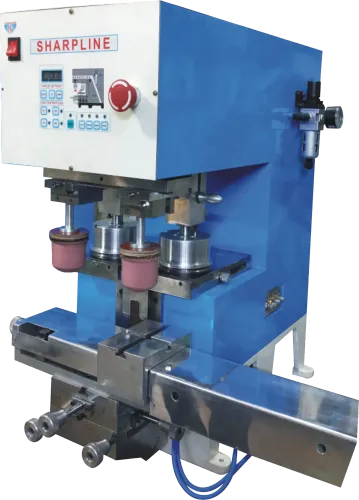
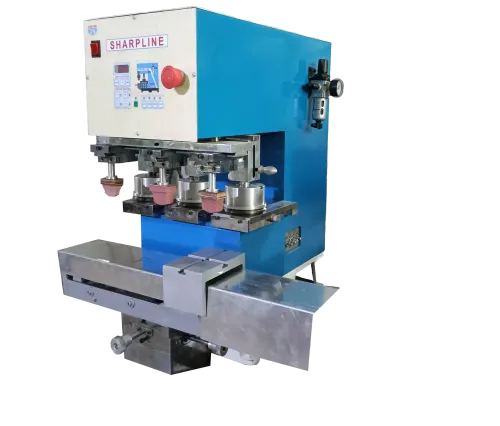
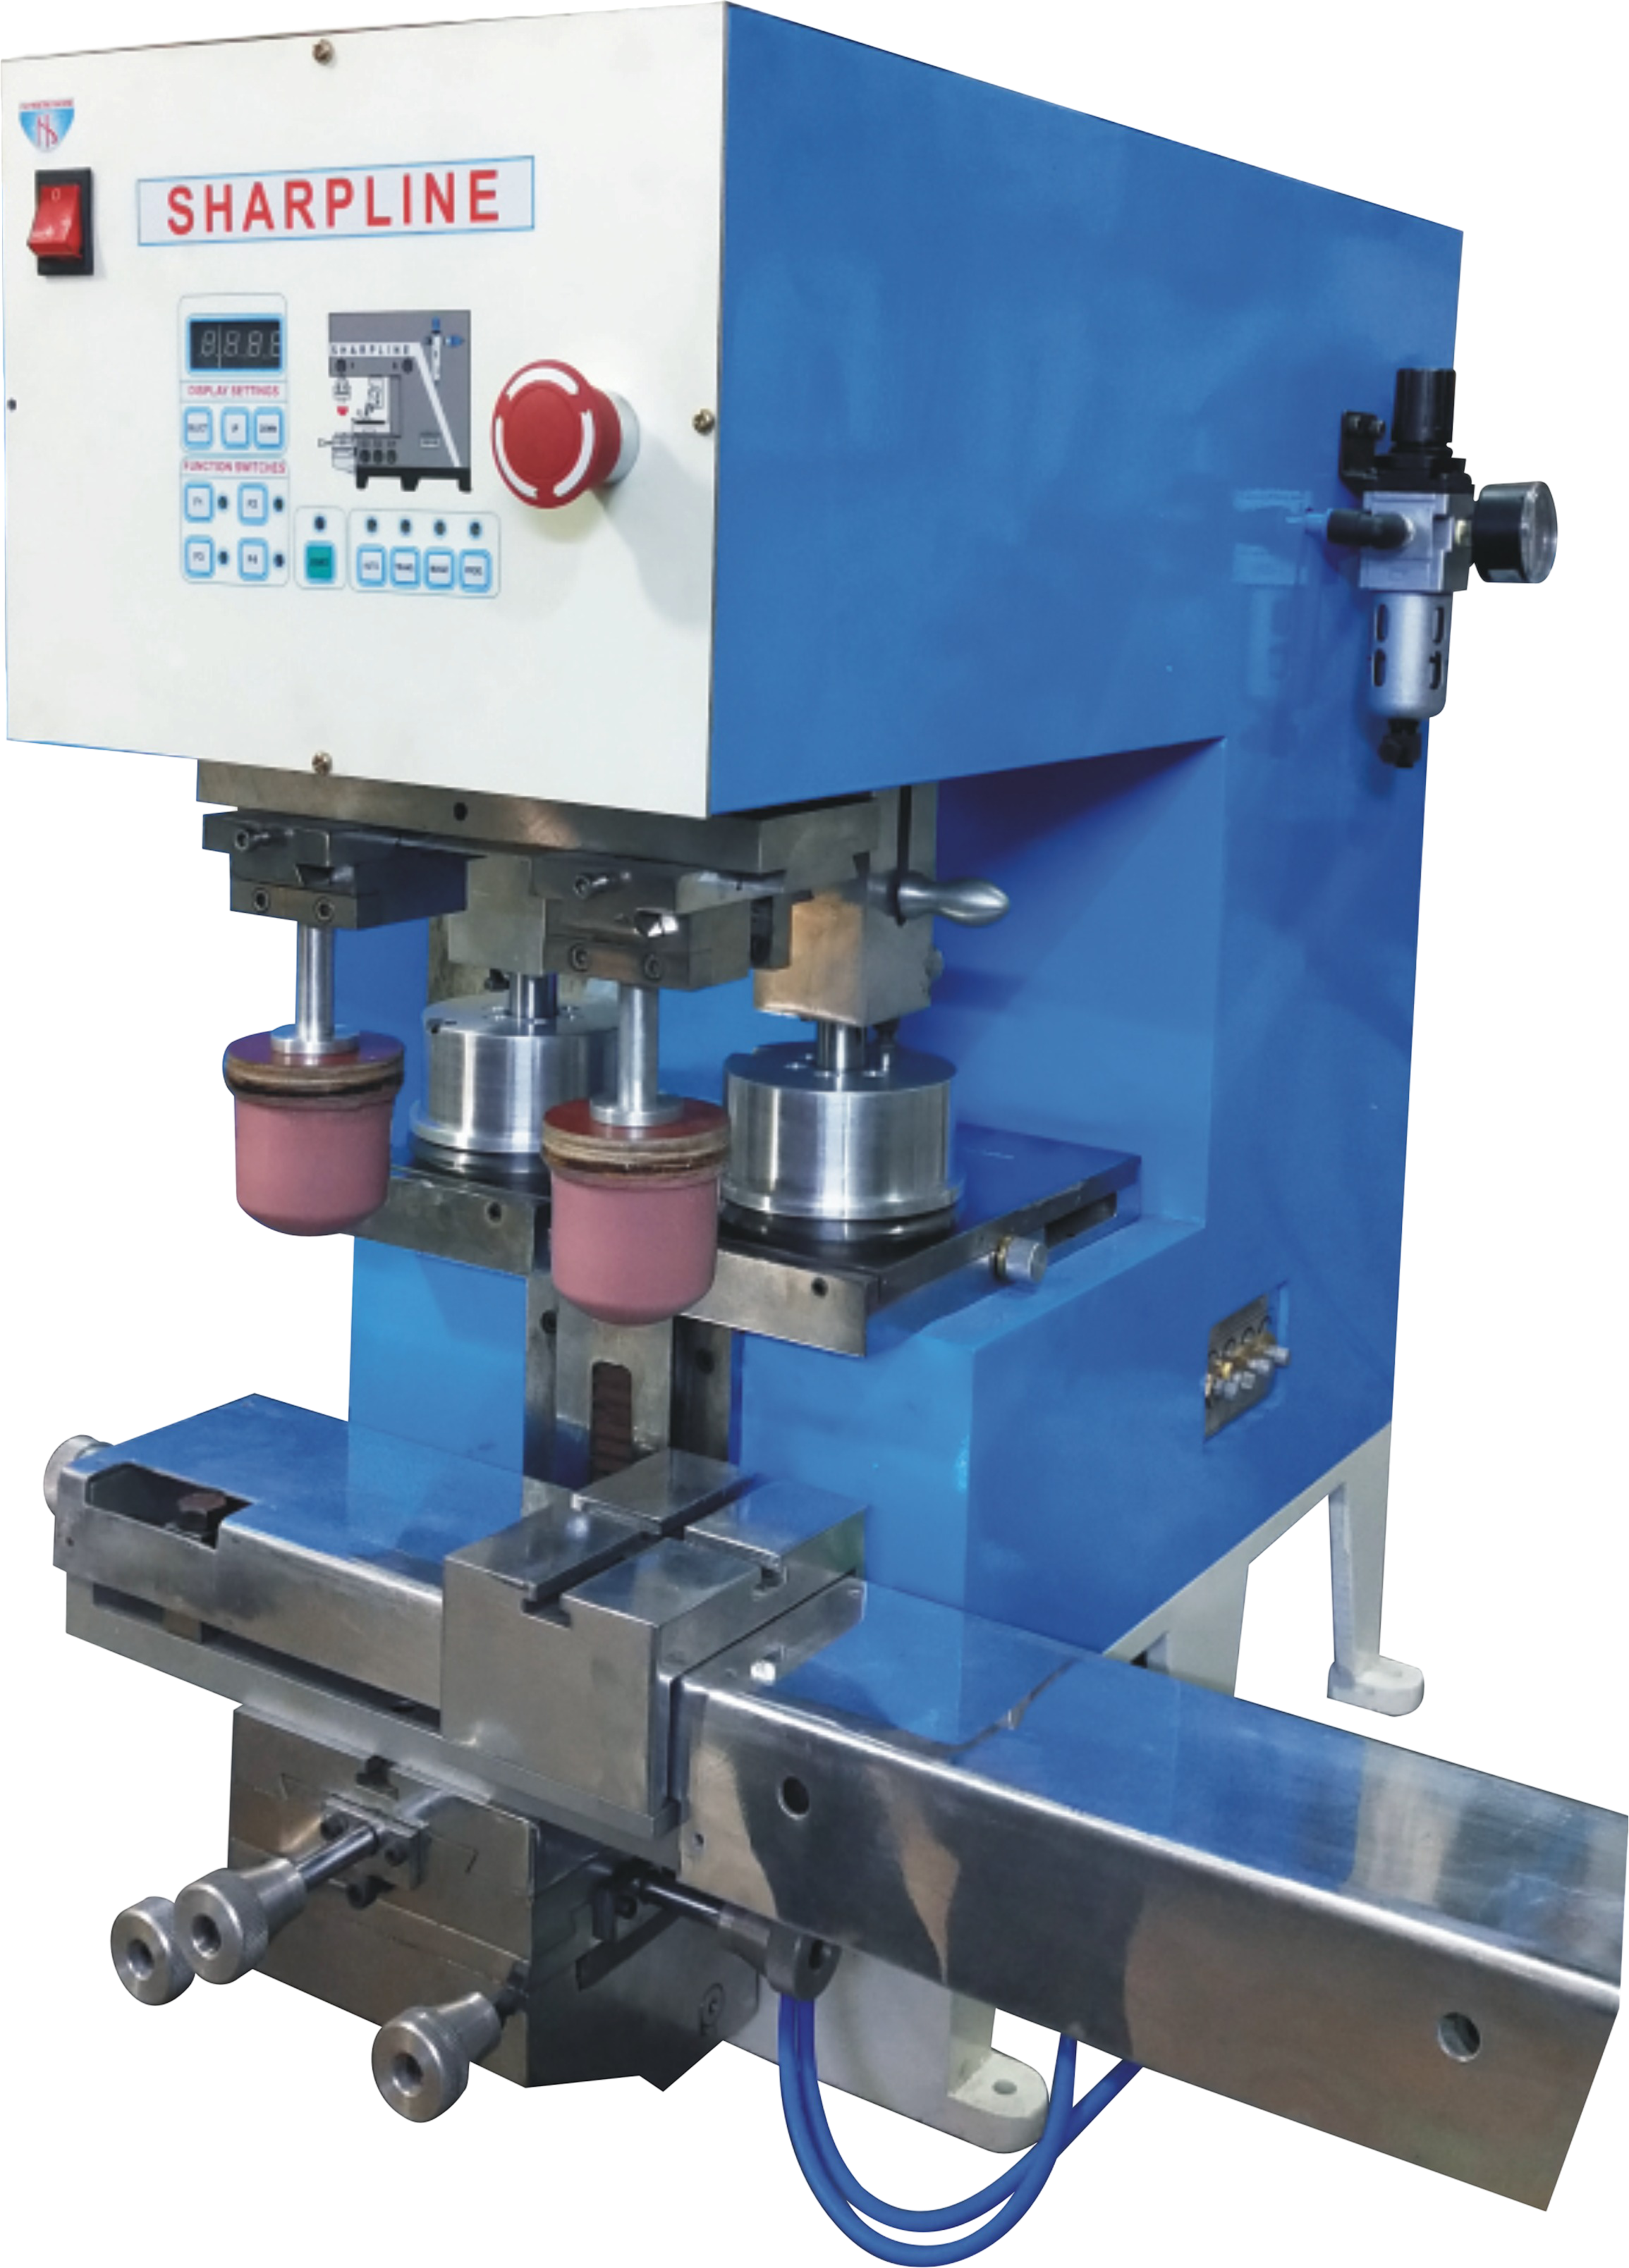
 | SINGLE COLOR OPEN INK WELL PAD PRINTING MACHINE SINGLE COLOR OPEN INK WELL PAD PRINTING MACHINE As we are the name on which the customers lay their trust for quality, as we are supplying the finest Single color open ink well pad printing... View product → |
Frequently asked questions
How does an exposed ink reservoir control single-color print quality?
The reservoir floods the etched cliché, while the doctor blade removes surface ink so the silicone pad picks up only the recessed image.
What should you check when prints are thin, dirty or inconsistent?
Isolate the fault through ink viscosity, doctor-blade wiping, cliché condition, pad contact, fixture stability and part placement.
What does open ink printing maintenance involve?
Measure and control viscosity, clean the reservoir and cliché, remove dried ink, and record adjustments between shifts.
How do you set a pad printing station for repeatable registration?
Align the cliché, pad, fixture and part using stable datums, consistent pad travel and secure part location.
When should you choose an open well machine over a closed ink cup?
Choose an open well when direct ink access and fast colour or viscosity adjustments matter more than the containment and reduced exposure of a closed cup.
Keywords