Streaks, pinholes, flooding, incomplete transfer, and sudden adhesion failures often begin with the ink well, doctor blade, cliché, pad, or cleaning process—not the machine’s advertised print speed. You will be able to match each symptom to a component, clean an open well in the correct order, and specify replacement consumables using measurable condition triggers.
Key takeaways
- Remove dried ink before particles create pinholes and streaks.
- Match defects to the blade, well, cliché, pad, or fixture.
- Check solvent compatibility, ink viscosity, and working time together.
- Give suppliers machine, ink, cliché, pad, and blade details.
Match the print defect to the failed open-well component
Dried ink in the well breaks loose as particles, causing pinholes and streaks. A clogged cliché blocks image cells, while a worn, swollen, tacky, cut, or permanently deformed silicone pad causes poor pickup or release.
| Symptom | Likely failed component | Check |
|---|---|---|
| Particles, pinholes, or streaks | Dried ink in well, blade holder, or return passage | Clean residue and filter ink |
| Uneven film, halos, or incomplete wiping | Nicked, burred, flat-spotted, misaligned, or over-pressured doctor blade | Inspect edge, holder, alignment, and pressure |
| Flooded non-image areas, spreading, dirty background, or pinholes | Incorrectly thin ink | Measure viscosity at operating temperature |
| Changing adhesion, unexpectedly thin ink, or oily surface | Solvent contamination | Check cleaner, thinner, and mixing containers |
| Registration shift or image movement between cycles | Fixture, cliché clamps, spacers, fasteners, or plate position | Tighten and verify repeatable location |
| Poor pickup or release | Damaged or contaminated silicone pad | Check hardness, rebound, tack, cuts, and shape |
Stock these pad printing accessories and consumables for open ink well problems:
- Ink wells or trays, doctor blades and holders, spatulas, mixing cups, approved solvents, cleaning brushes, lint-free wipes, filters, shims, fixtures, pads, clichés, seals, and replacement fasteners.
A matched set of pad printing accessories and consumables is more useful than generic wipes and universal thinner because blade geometry, seal material, solvent compatibility, ink viscosity, and pad behavior interact. Replace one with the wrong specification and the defect can return—or pressure and solvent adjustments can damage the cliché and pad.
Clean the open ink well before residue becomes a print defect
Clean the well when the ink’s open time, a production pause, or the stated pot life says to stop—not automatically at the end of the shift. Delayed cleaning lets partly cured fragments break loose and produce particles, pinholes, streaks, or blocked cliché cells.
1. Stop before the ink open time expires. For two-component ink, remove the mixed batch before its stated pot life ends, place catalyzed waste in a separate closed container, and never return it to unused stock.
2. Remove remaining ink with an ink spatula. Do not gouge the well; soften residue with the approved solvent, then use a compatible plastic or soft tool that cannot score the well or damage seals.
3. Cover or remove the cliché and silicone pad where the procedure permits. Prevent solvent from pooling on polymer artwork or contacting the pad directly.
4. Clean corners, the blade holder, flood-bar edge, return passages, and fastener recesses with compatible brushes and lint-free wipes. These areas hide cured fragments.
5. Remove the doctor blade according to its holder design. Wipe its edge with the approved solvent, inspect for nicks, burrs, or dried ink, and reinstall it only when clean and correctly seated.
6. Dry the well, blade, cliché, pad, and surrounding surfaces completely before printing. During open ink well maintenance, provide solvent-appropriate ventilation, eliminate ignition sources, and wear chemical-resistant gloves and eye protection selected from the solvent safety data sheet. Dispose of contaminated wipes in closed, suitable waste containers.
Control solvent compatibility, viscosity, and working time
A solvent or thinner that fixes one symptom can create a second failure. Before adding anything to the well, identify the ink series, one- or two-component chemistry, hardener, approved thinner, and approved cleaner. Confirm compatibility with the cliché coating, silicone pad, seals, hoses, tray, and painted surfaces.
Ask the ink maker which product is intended for:
- Routine wiping
- Dried-ink removal
- Equipment soaking
These uses are not interchangeable. Do not leave solvent on silicone pads, polymer clichés, elastomer seals, or painted surfaces; remove residue and dry each surface before printing.
Measure viscosity with the ink supplier’s specified method and target range at the recorded operating temperature. Cup-flow values from different cup types cannot be compared directly. Add only the specified thinner in controlled amounts, record every addition, and retest.
| Condition | Transfer result | Corrective action |
|---|---|---|
| Excessively thin ink | Flooded non-image areas, spreading, dot gain, dirty background | Add only approved thinner-free adjustment or specified correction; retest |
| Excessively thick ink | Incomplete cliché-cell filling or poor pad release | Add the specified thinner in measured increments; retest |
| Expired or contaminated ink | Cured particles, unstable transfer, or viscosity that will not recover | Discard it; do not rescue it with extra solvent |
Discard ink after pot life, when it contains cured particles or contamination, or when restoring viscosity would damage transfer quality. Keep these controls with your pad printing accessories and consumables records.
Set the well, blade, cliché, pad, and fixture against measurable checks
A repeatable setup check separates a consumable fault from incorrect adjustment. Record the well depth and ink level, then verify that blade travel covers the cliché without extending beyond its intended path.
Check blade length, thickness, edge geometry, mounting method, angle, and contact pressure against the machine and holder specification. A sharp blade with the wrong geometry can leak or wipe unevenly. Inspect plate flatness, cliché position, clamps, shims, sealing surfaces, and clearance; scraping or excess ink flooding the artwork indicates a setup problem.
| Check | Consumable indication | Adjustment indication |
|---|---|---|
| Blade wipe | Burr, flat spot, wrong thickness, or damaged edge | Incorrect angle, pressure, travel, or mounting |
| Cliché metering | Wrong depth, clogged cells, worn artwork, poor finish | Plate movement, uneven seating, or incorrect clearance |
| Pad transfer | Cracks, swelling, tackiness, lost rebound, contamination | Excessive pressure, poor alignment, or unsuitable stroke |
| Registration | Damaged fixture, loose fastener, changed dimensions | Loose clamp, shim error, or fixture misalignment |
Match cliché material, etch depth, cell geometry, and surface finish to the deposit. Steel clichés often measure about 18–30 micrometres deep; deeper is not automatically better because ink, detail, substrate, and opacity determine the target.
Select the pad by shape, hardness, compression, rebound, and release—not image diameter alone. Replace parts when inspection or a failed transfer test shows cracks, burrs, clogged cells, dimensional change, or contamination.
Record ink batch, viscosity, solvent additions, blade and pad condition, cliché, fixture, temperature, and cleaning event for each job on a single color open ink well pad printing machine.
Give a consumables supplier the details needed for a matched replacement set
1. Send the machine model and blade-holder specification, then identify the ink brand and series, one- or two-component chemistry, hardener, substrate, adhesion target, resistance requirements, operating temperature, and every cleaner used on the press.
2. Describe the cliché material and depth, blade length, width, thickness, material, edge geometry, and mounting method. Give the pad compound and approximate image size. These details prevent a visually similar blade, seal, or pad from changing doctoring pressure or pad release.
3. Request a matched set containing the exact doctor blade, seals, spacers, fasteners, approved thinner and cleaner, filters, lint-free wipes, mixing cups, and replacement pads. Include cliché clamps or shims when they affect seating. Do not accept “universal” parts without dimensional and chemical compatibility evidence.
4. Ask the pad printing consumables supplier to state the viscosity measurement method, target range at your operating temperature, solvent-compatibility statement for the cliché, pad, seals, and painted surfaces, and a transfer-test procedure. For a single color open ink well pad printing machine, these checks protect ink deposit and cliché wear.
5. A supplier such as SHARPLINE ENGINEERS earns confidence by asking these process questions and assembling machine-specific consumables. Confirm every recommendation against the ink maker’s technical data sheet and safety data sheet before use, including thinner, cleaner, hardener, and waste-handling instructions.
Related products
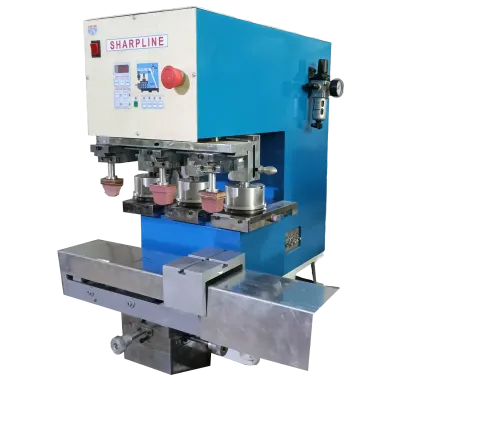
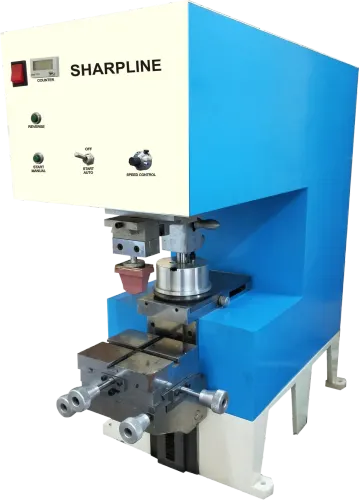
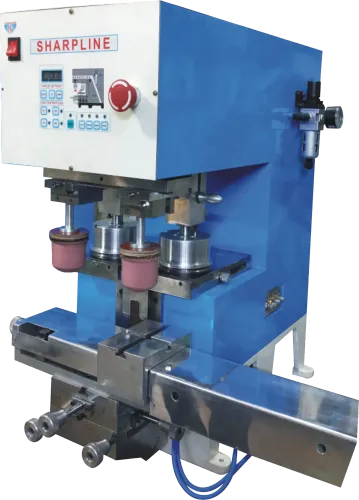
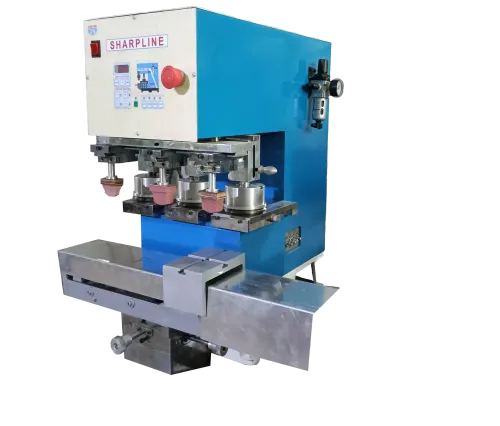
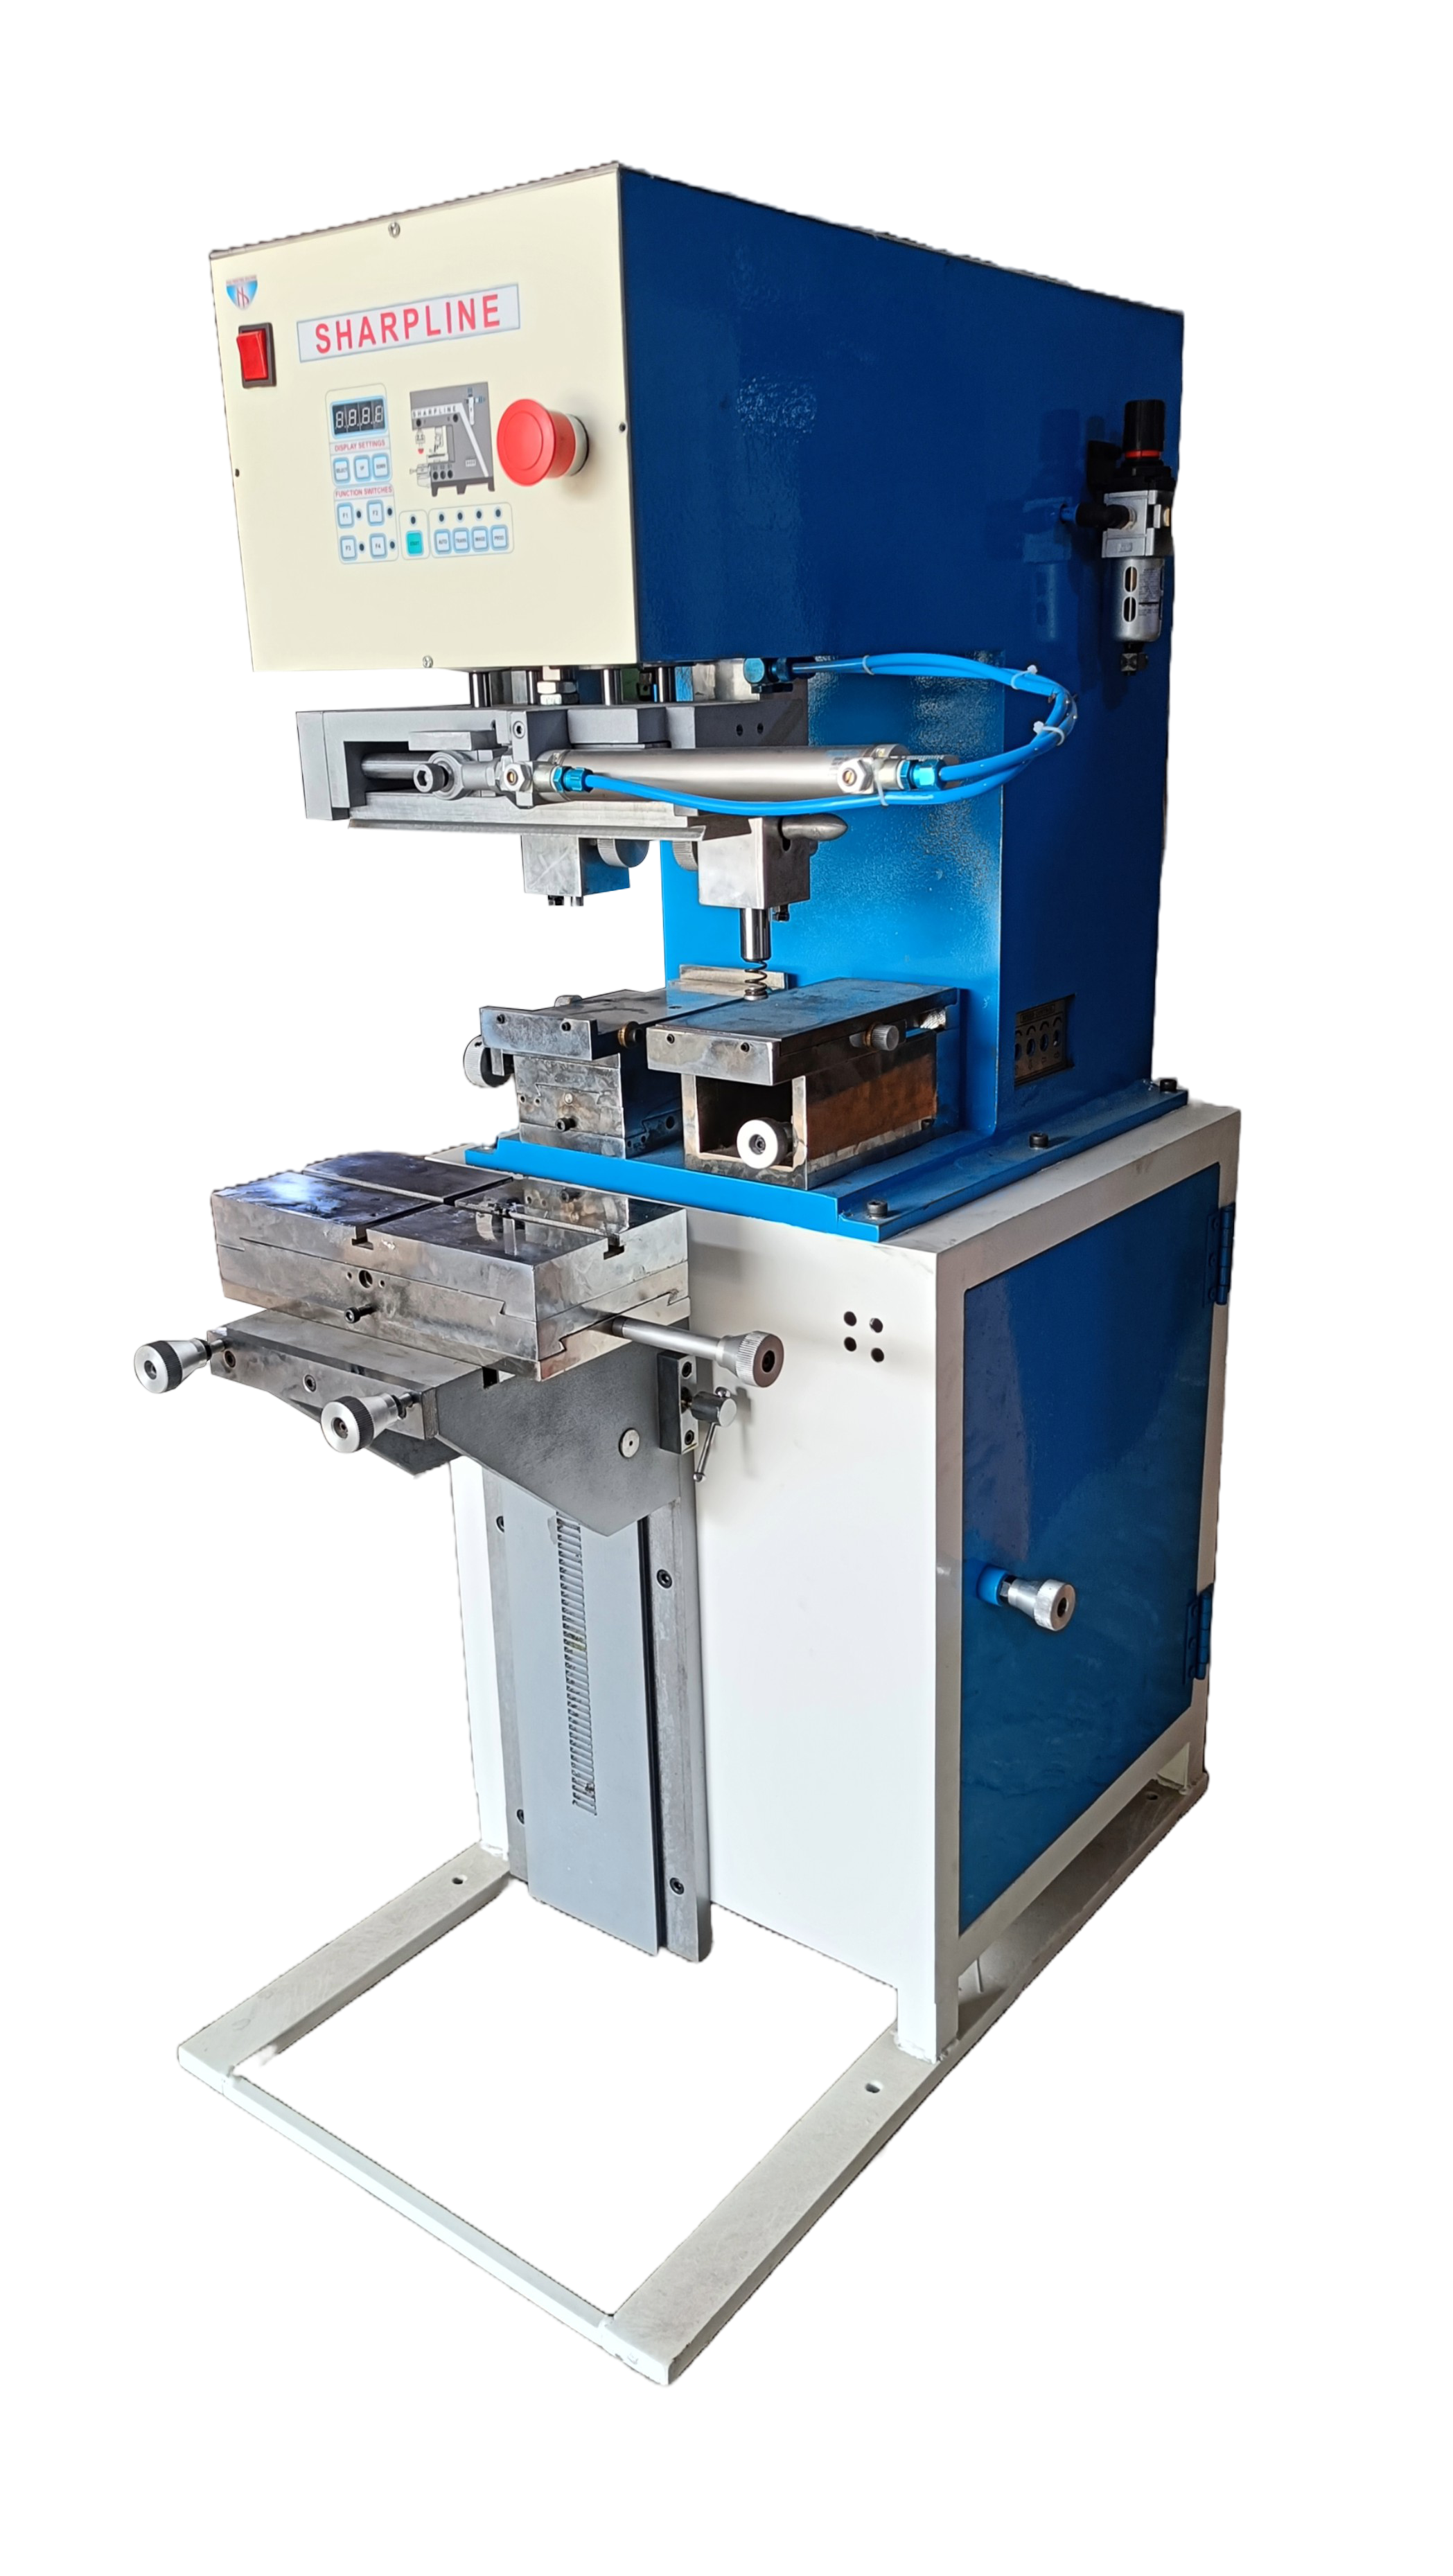
 | SINGLE COLOR OPEN INK WELL PAD PRINTING MACHINE SINGLE COLOR OPEN INK WELL PAD PRINTING MACHINE As we are the name on which the customers lay their trust for quality, as we are supplying the finest Single color open ink well pad printing... View product → |
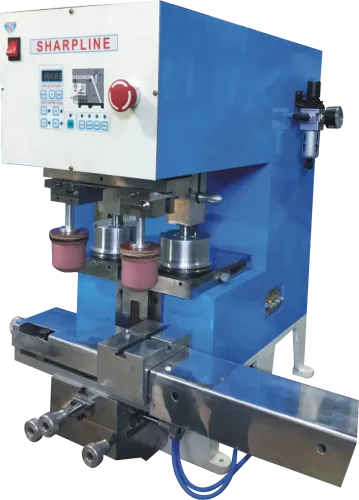
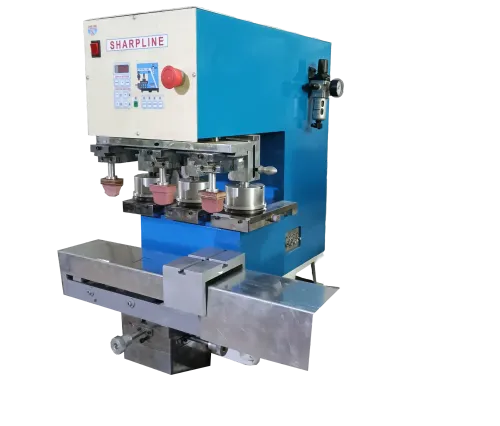
 | DOUBLE COLOR OPEN INK WELL PAD PRINTING MACHINE DOUBLE COLOR OPEN INK WELL PAD PRINTING MACHINE We are designated with a position of trustworthy suppliers involved in dealing with Double Color Open Ink well Pad Printing Machine and offering the... View product → |
Frequently asked questions
Which open ink well component causes streaks, pinholes, or poor ink transfer?
Dried ink in the well creates particles, a clogged cliché blocks image cells, and a worn, swollen, tacky, cut, or deformed pad causes poor pickup or release. A damaged blade can also leave uneven ink on the cliché.
How do you clean an open ink well before it causes print defects?
Remove remaining ink, scrape residue with a tool that will not damage the well, and wipe the blade, well, and surrounding surfaces with a solvent confirmed compatible with each material. Inspect for dried fragments before refilling.
What must you check when selecting solvent and ink for an open ink well?
Confirm solvent compatibility with the well, blade, cliché, and pad, then set ink viscosity and working time for the actual production conditions. Excess solvent can slow drying, while ink that thickens can reduce image fill and transfer.
What details should you give a pad printing consumables supplier?
Provide the machine type, including whether it is a single color open ink well pad printing machine, ink brand and system, cliché dimensions and image details, pad shape and size, blade dimensions, substrate, defect, and operating conditions.
Keywords